DISCLAIMER: This is intended to explore what’s realistically possible right now with shooting RAW on a Canon T3i. It’s written from the perspective of someone who has no previous familiarity with a RAW video workflow. Nothing that’s being done here is revolutionary, ground breaking, or even necessarily the correct or best workflow. It’s simply the perspective of a video enthusiast who’s curious to see what you can realistically do with RAW on a prosumer DSLR body, right now.
UPDATE 7/10/13: Side by side comparison video now available
I’ve updated the test videos to include a side by side comparison between the Magic Lantern RAW Video and the standard T3i H.264 video. I tried as close as possible to match the framing and shots for both recordings. Interestingly, I also encountered some purple frames and other anomalies while recording these RAW clips. Previously, these settings and exact gear had worked flawlessly without any dropped frames, purple frames or unusual behavior.
Below is the graded and ungraded versions of the test shots. I developed the DNG files in Adobe Camera RAW to match a “flat profile” such as Giles 35 or Flaat. I generally reduced Contrast to 0 or -15, reduced blacks to 0, increased highlight recovery and removed all ACR sharpening. There are no effects or filters applied in Premiere Pro at all to either the .MOV or PSD sequence. The Canon H.264 video was shot using the Giles 35 profile, and has not been corrected or adjusted in any way.
With the recent addition of RAW video recording to Magic Lantern, many owners of Canon DSLRs have been anxious to see how their various camera bodies will perform. There are known severe limitations for Canon DSLR bodies which use SD cards, versus bodies such as the 5D Mark III, which are recording full 1080p HD RAW video to CF cards without any problems. The limitation on Canon’s more consumer oriented DSLR bodies lies in the bottleneck at which SD cards are capable of writing. Canon bodies which use CF cards are able to record at 80-90MB/second, whereas the majority of SD cards are limited to 15-25MB/second. What this means is that the lower speed SD cards are only able to sustain recording for any length of time by shooting at a reduced resolution (we’ll talk more about that later).
The Process Step by Step
Once you’ve installed ML on your 600D body, you can learn how to install the nightly build with RAW video here: http://www.magiclantern.fm/forum/index.php?topic=5520.0 When you have the ML nightly with RAW build installed, you’ll notice there is now a new menu option for RAW Video:
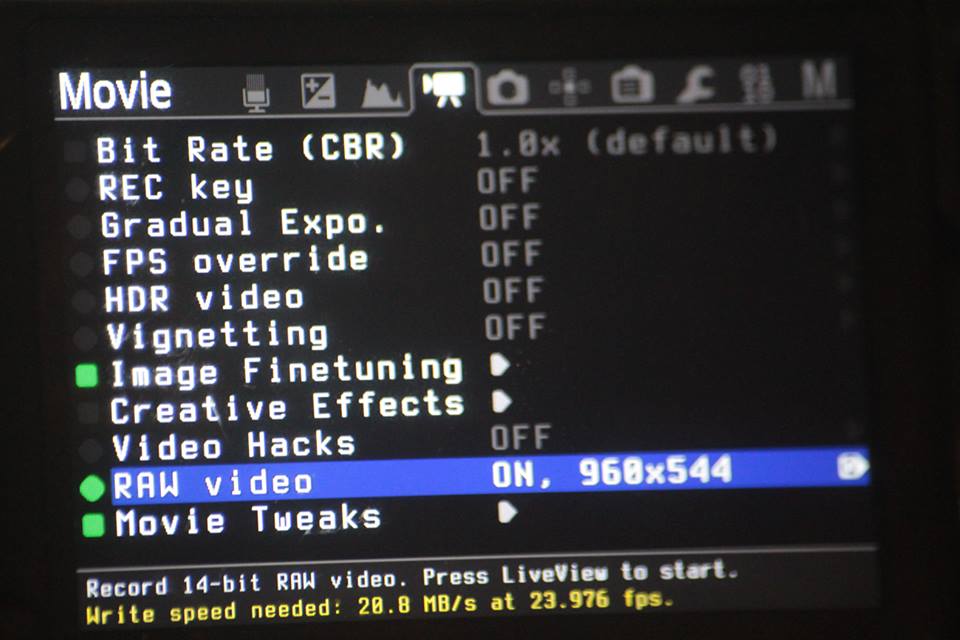
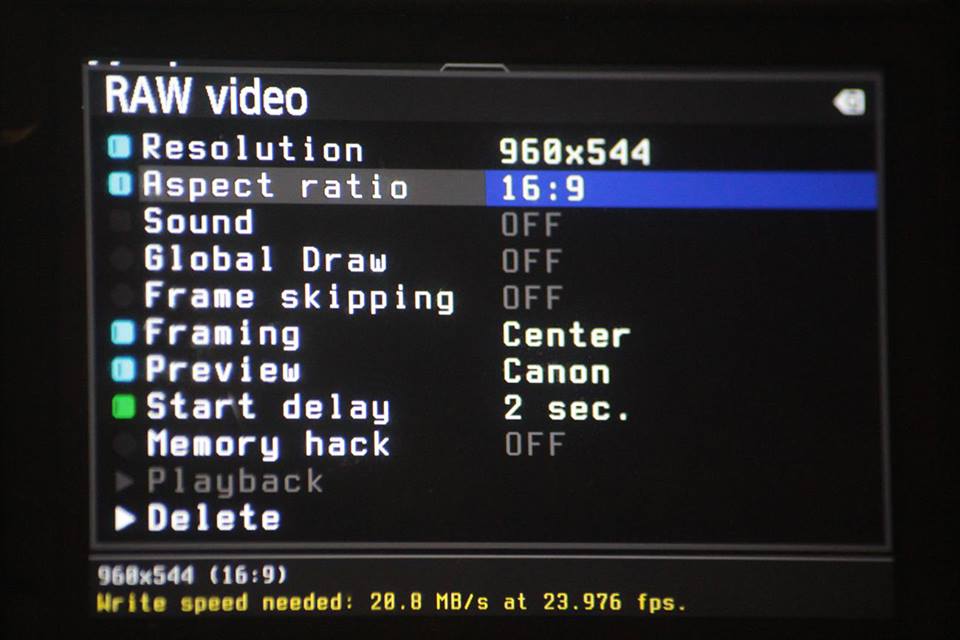
Press SET to turn RAW video on, and then Q to configure the settings. I tested all of my various SD cards in order to determine which one would allow for the highest resolution recording without dropping frames. There are two key RAW video options that will affect whether or not your SD card can keep up with the large volume of data that you’re throwing at it. They are: Resolution and Aspect Ratio. ML RAW Video allows you to set the horizontal resolution, in small increments from 640 to 3520. The vertical resolution is automatically set by the aspect ratio that you choose.
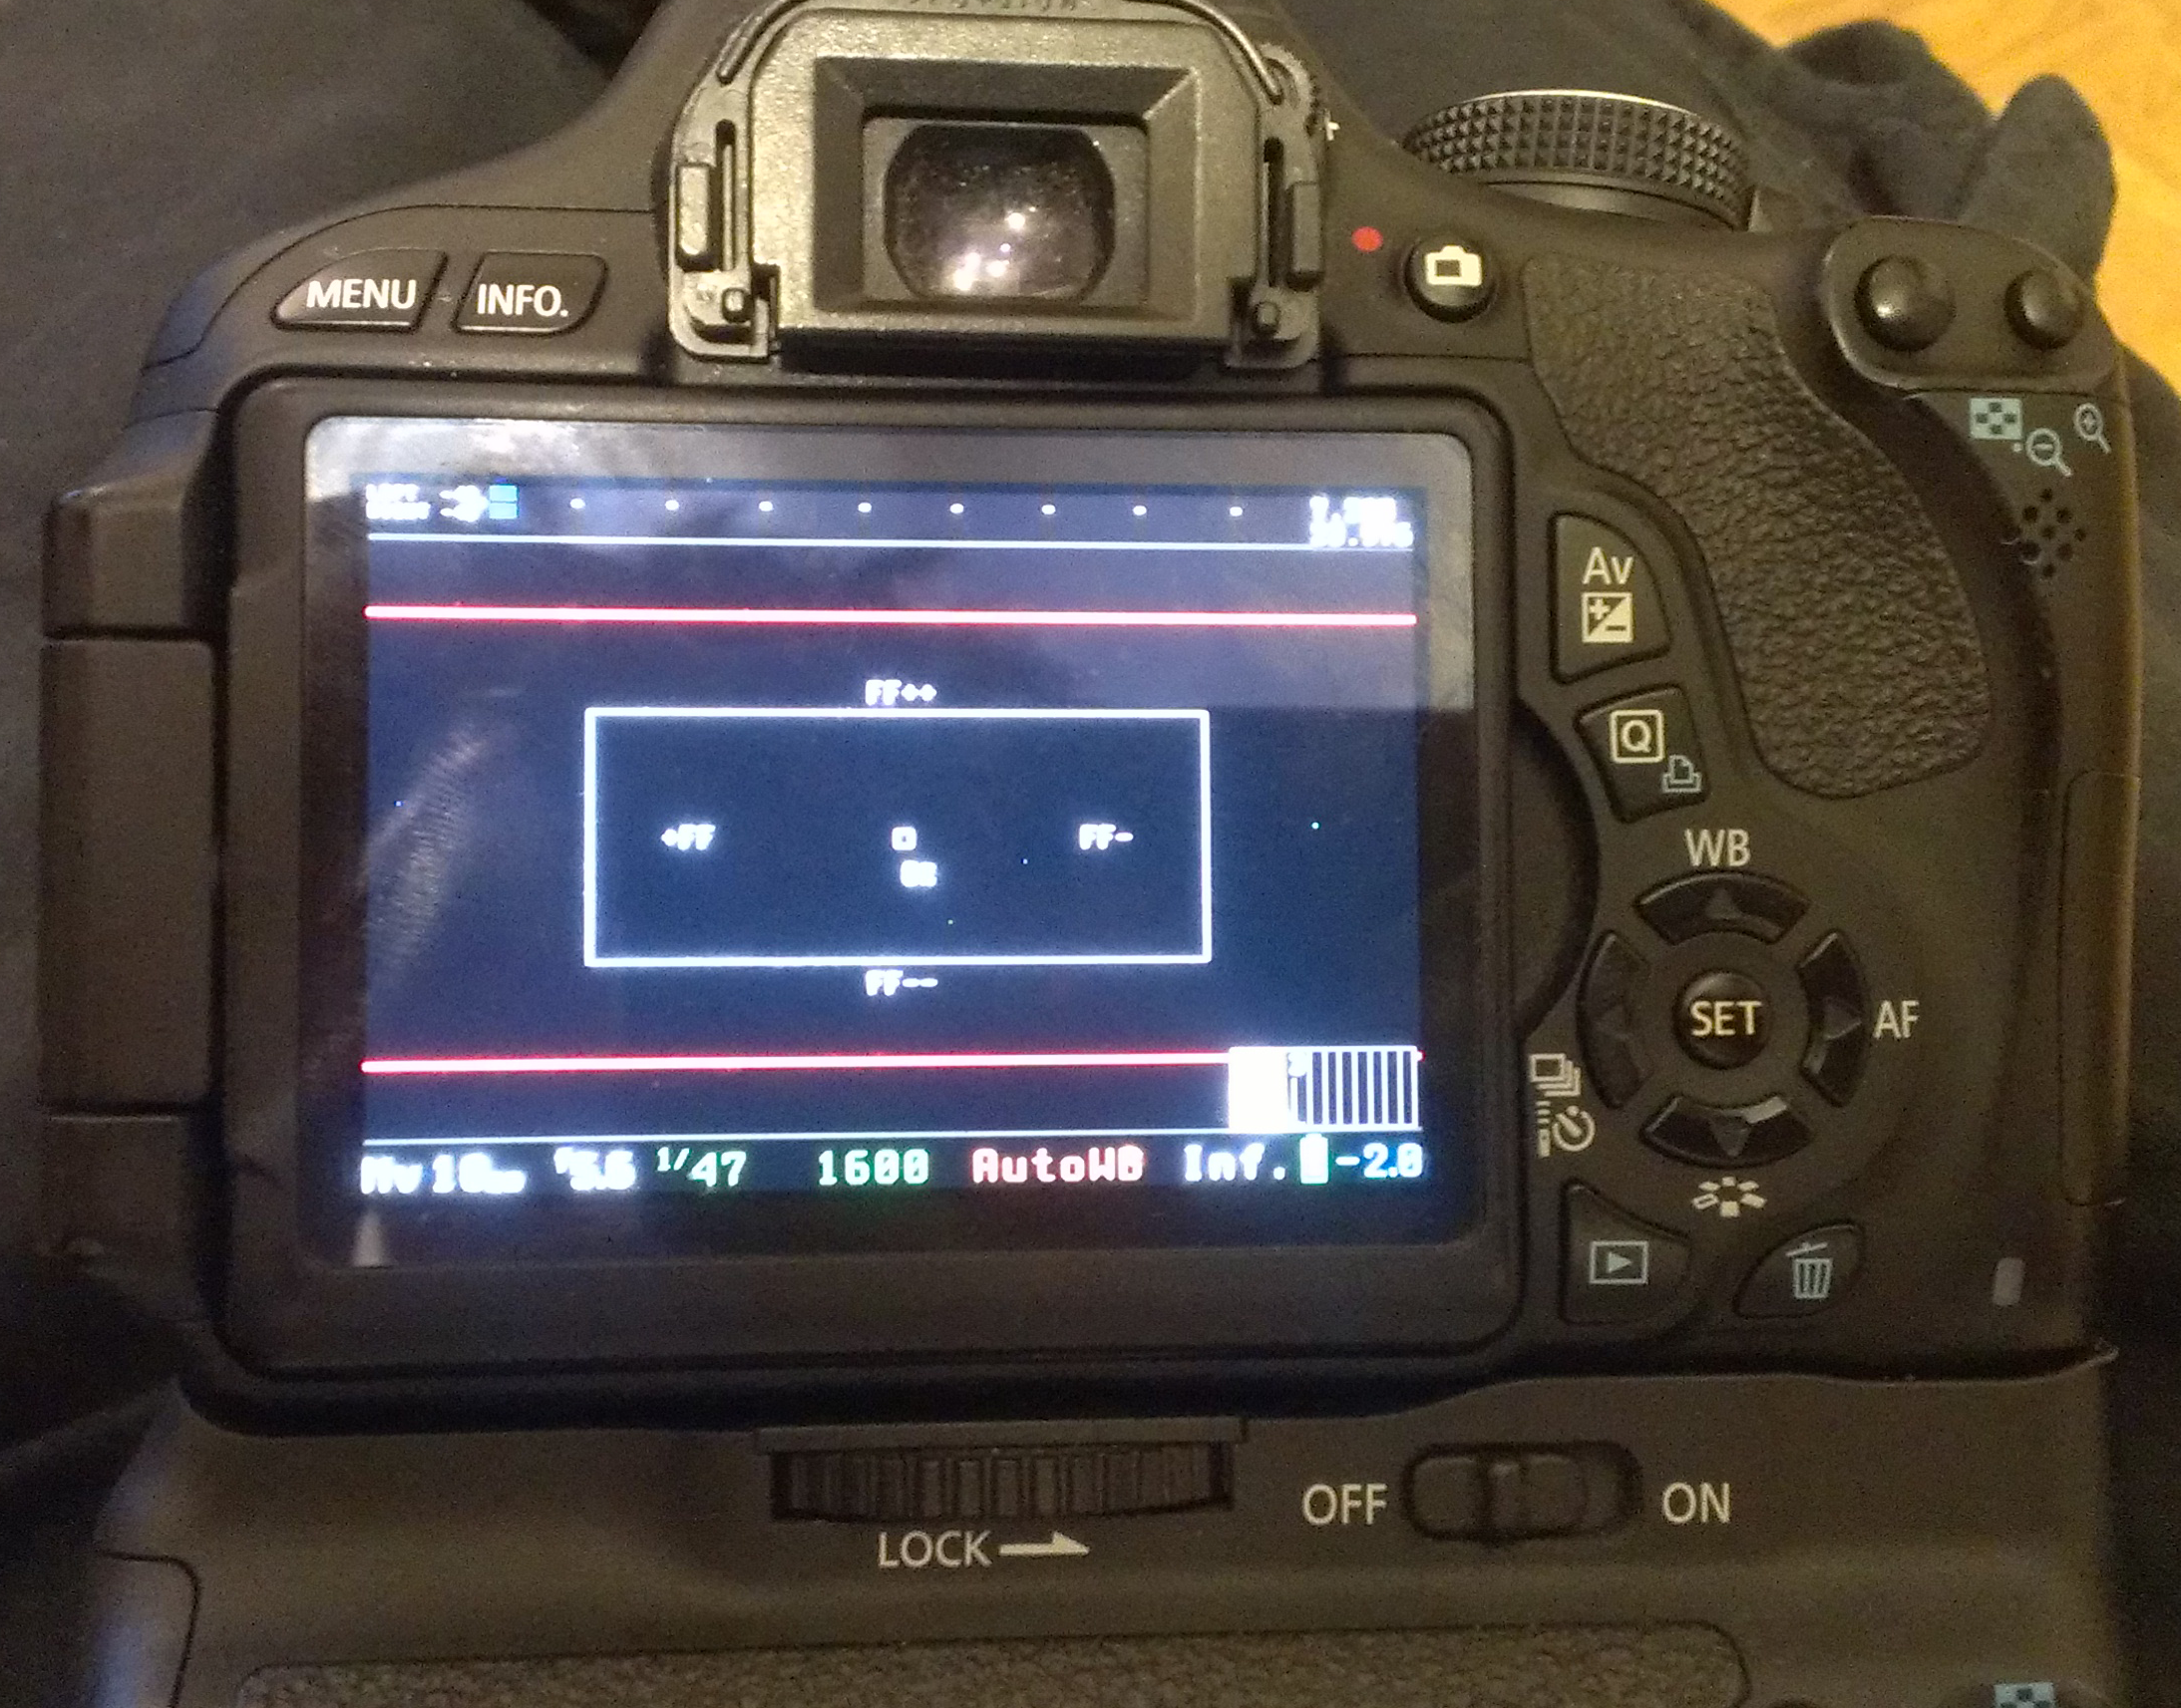
One major downside for me was that when choosing a smaller resolution, the image is cropped from the center or top right of the sensor, so you are only recording a very small portion of your available field of view. It does not take your entire normal field of view, and “squeeze it down” to the smaller resolution, but rather crops the smaller resolution from the center of your image, the top left, or “Dolly Mode” which allows you to shift the area being recorded live while shooting. Either way, it’s essentially like having a “super-crop” lens conversion as only a small portion of your sensor is being recorded to the SD card. The small white square in the middle represents the portion of the total sensor that will be recorded. For these tests I shot with the widest lens I own, the UWA Sigma 10-20mm f4-5.6, which I would guess is likely giving something like a 35-50mm field of view here.
With an older 8GB Sandisk Extreme, I was able to record at 1024x416px at a 2.5:1 ratio for sustained writes. There are no dropped frames or miscolored magenta/purple frames. I can write at this size for as long as I’ve shot in one clip, around 3 minutes. I’m unsure as to the recording limit and it it’s still capped at 4GB per the SD card structure.

Once you’ve recorded some RAW files, you’ll have to convert them to more user friendly DNGs. The RAW files created by ML are not really user-friendly or able to be developed directly like DNGs are. Once you copy your .RAWs to their own separate folder, then drag each .RAW to the application “raw2dng” which you can download here: https://bitbucket.org/hudson/magic-lantern/downloads/Raw2dng.exe (You do not run or install this application, but simply drag your .RAW files to it).
This will automatically create raw DNG files in the same folder where your original .RAW file is located. Now that you have your DNG files, you can open up Adobe Bridge and finally view your images in a more normal fashion. From here, I selected all of the DNG files that were created for a specific .RAW file, and then right clicked and selected “Open in Camera RAW” to develop the images. Once all of the images load in camera RAW, I hit CTRL-A to select all of them. This will ensure that any settings you adjust, such as white balance or sharpness, will be applied to all of your files. For these shots, I went with Auto WB, slightly negative Contrast, increased Clarity, and no Sharpening at all (important!). I found these settings to give a fairly “filmic” look to the images, but you can experiment with what you like. I also kept them very flat at this point, as I intended to grade the images later in Magic Bullet in my NLE.
(Note: I understand that most RAW workflows create proxy files, then edit, then grade off the DNGs, but like I said, this is an experiment and my first time attempting to create a RAW digital workflow that works for the setup I currently have).
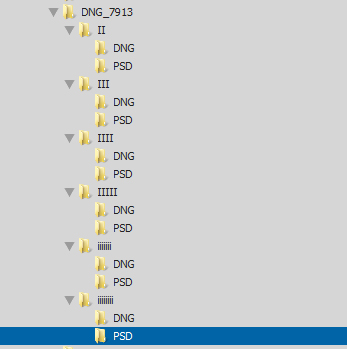
After making the RAW develop settings to my liking, I saved the entire sequence as 16-bit Photoshop files. The reason I did this is because my NLE (Adobe Premiere Pro CS5.5) does not support DNG or Camera RAW files. I felt as though PSD files would be a good compromise, as they are lossless and offer a smaller file size over TIFFs. I also kept my DNG files in a separate folder, so that if I needed to readjust anything, I could always go back and resave the PSDs from the original DNG files.
Once you’ve created PSD sequences for all your DNG files, you can now import the PSD files as Numbered Stills in Premiere. This will automatically import all PSDs in their respective folders as video clips, which can now be dropped into a sequence. For my sequence, I created it at 1024x600px, which allows me to have a letter box look on my 1024×416 footage. When you make your sequence, just make sure that it either matches your image size of your PSDs – or like I did – make the height greater than your image height for a letterbox effect.
Now that you have a properly sized Sequence, you can drop in your PSDs as video clips and edit them as you normally would. One thing I noticed is that the video previews look especially choppy in comparison to editing .h264 footage from your DSLR, but when it’s exported it looks sharp.
I graded my clips using Magic Bullet’s Mojo, and also applied a standard RGB S-Curve to increase contrast in all the clips. You can see below how the original ungraded image looks compared to the final.
Original:
Graded:

Once I cut and arranged all of my clips, I added some simple background music and exported the Sequence as .H264 video. Just make sure that you specify the correct resolution for your final export, or you will end up with unexpected black margins. I’m curious to see what people think of RAW video shot with a Canon T3i, and if they would ever consider it to have a practical use considering the sever limitation on resolution and field of view you’re able to record. Sharpness, dynamic range, and “grade-ability” all seem to be superior to standard .H264 video, but unless there’s some advances made with SD cards, it doesn’t seem as though there will be a lot of practical use for RAW video on non-CF Card Canon DSLR bodies.